Try reShapr online
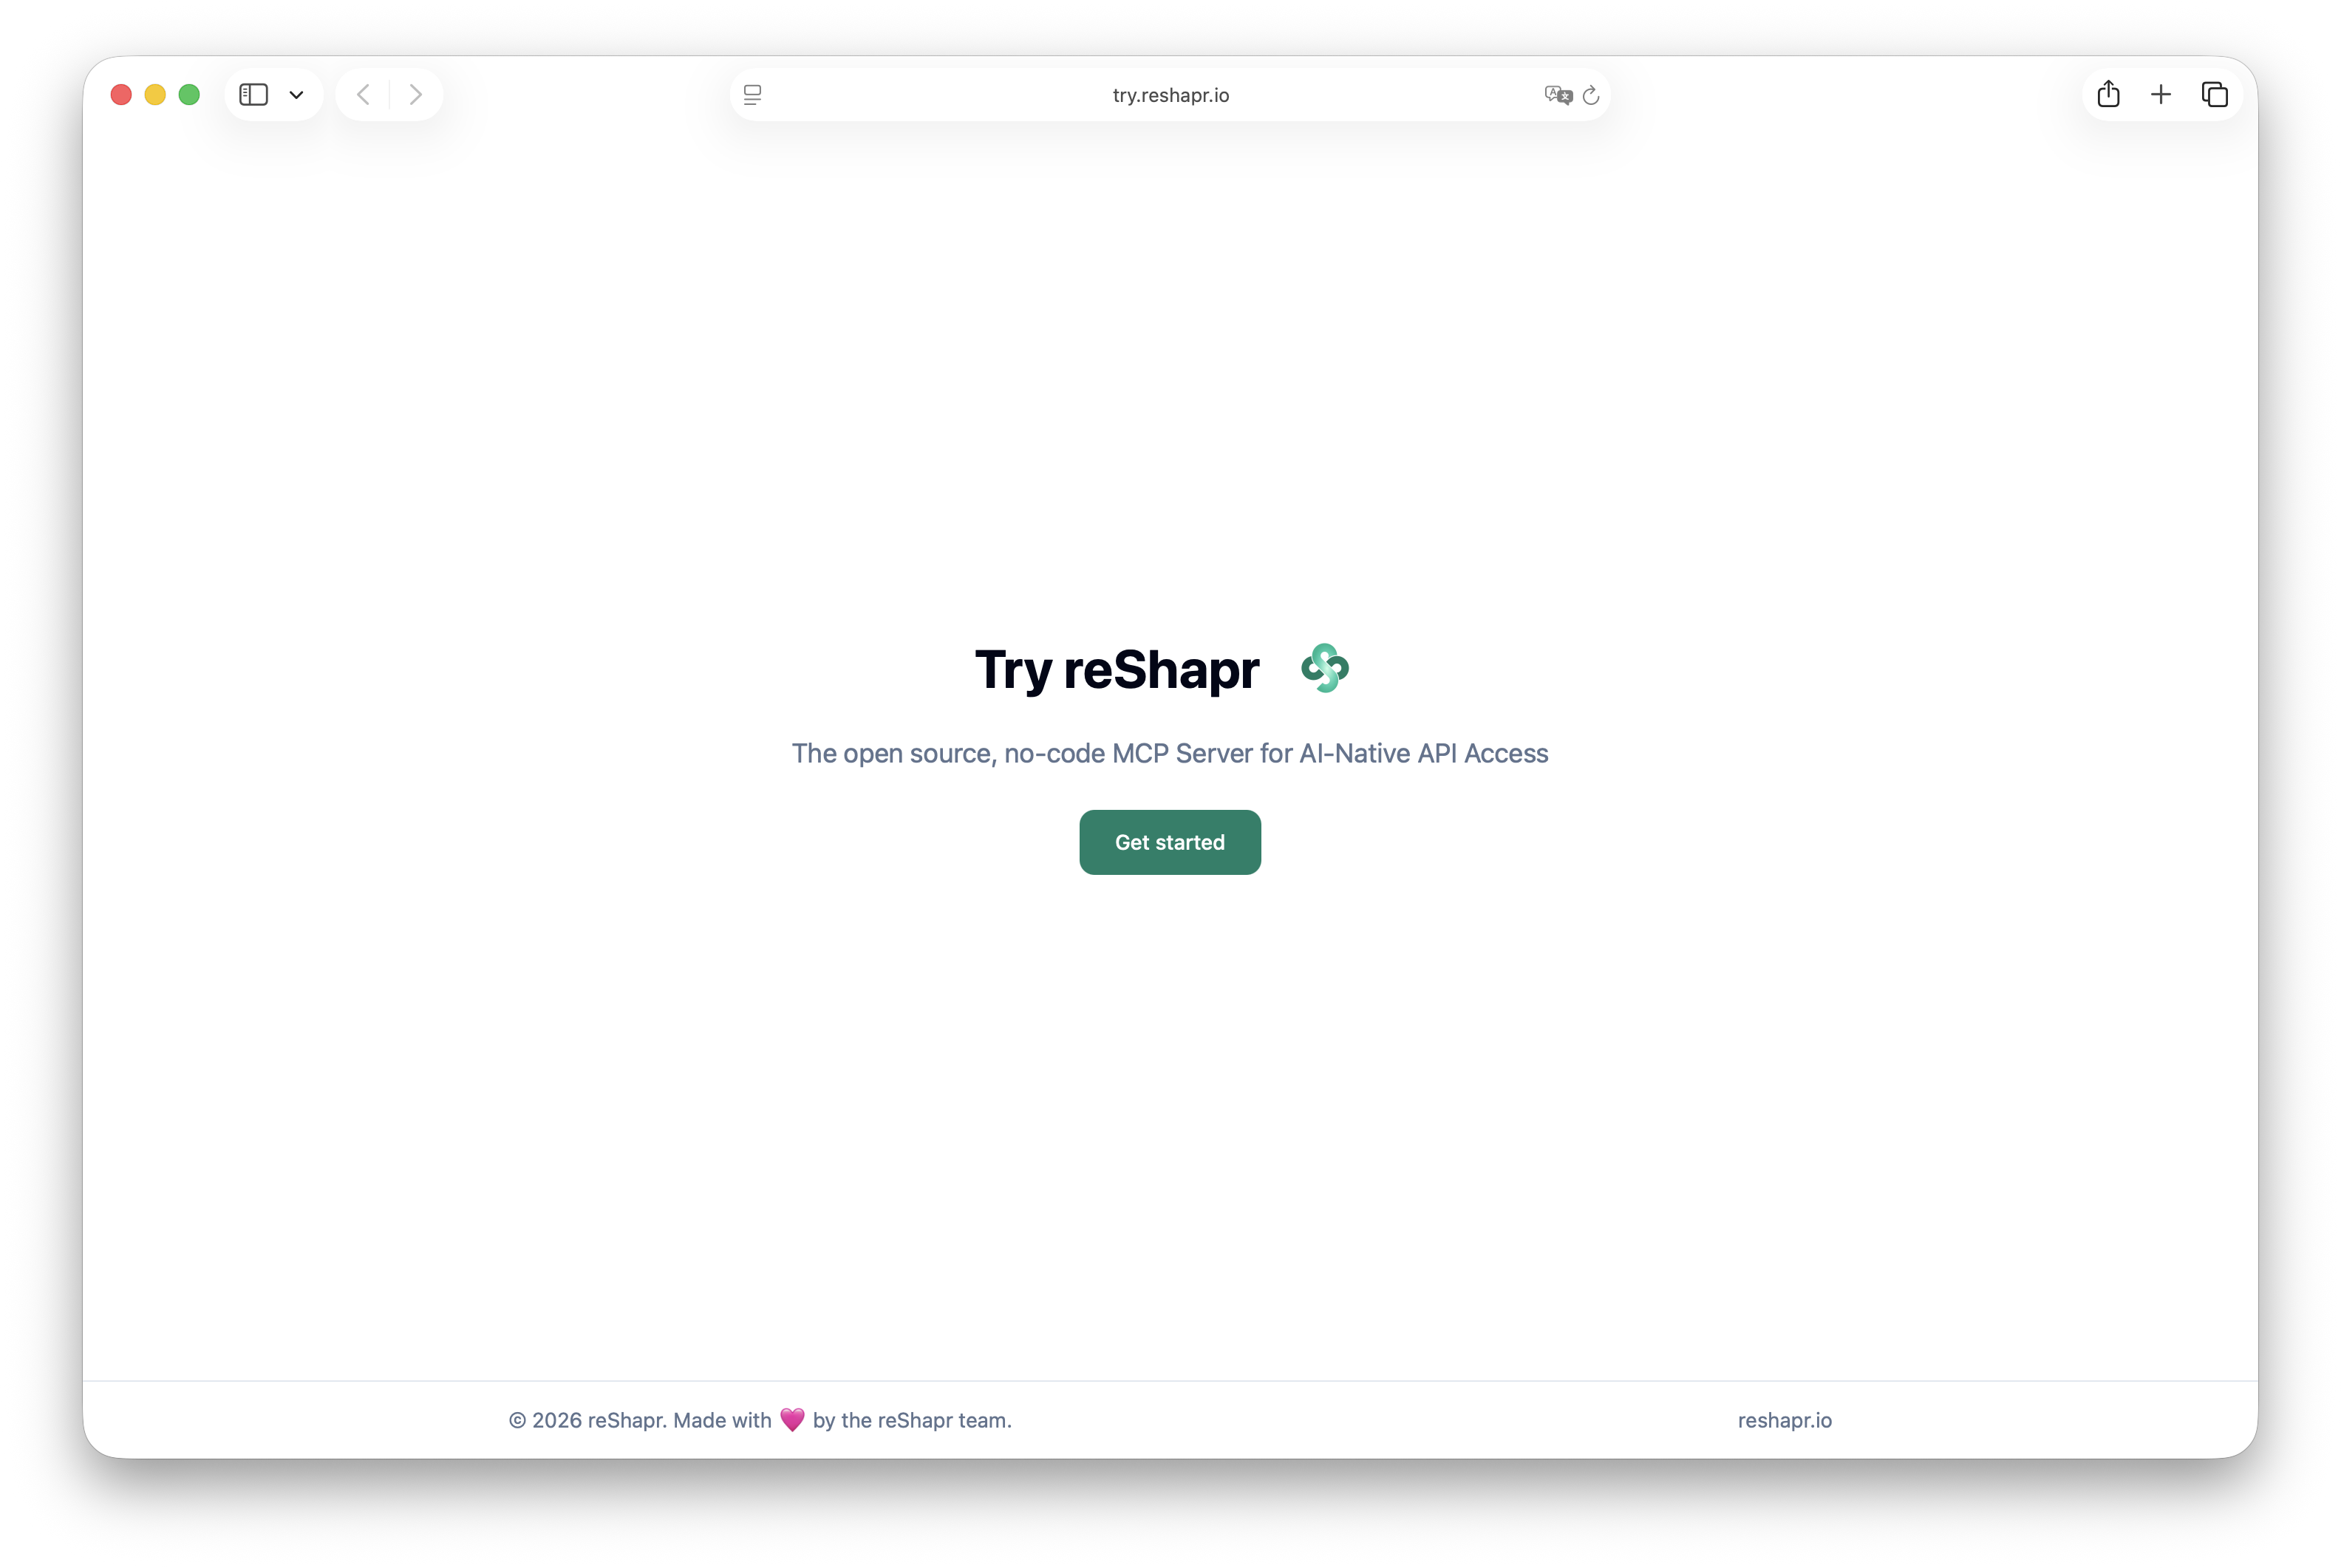
The fastest way to experience reShapr is through our hosted online environment: no installation required 🙌
Head over to try.reshapr.io to get started instantly.
Login workflow
Step 0 - Use your preferred web browser
And go to:
https://try.reshapr.io
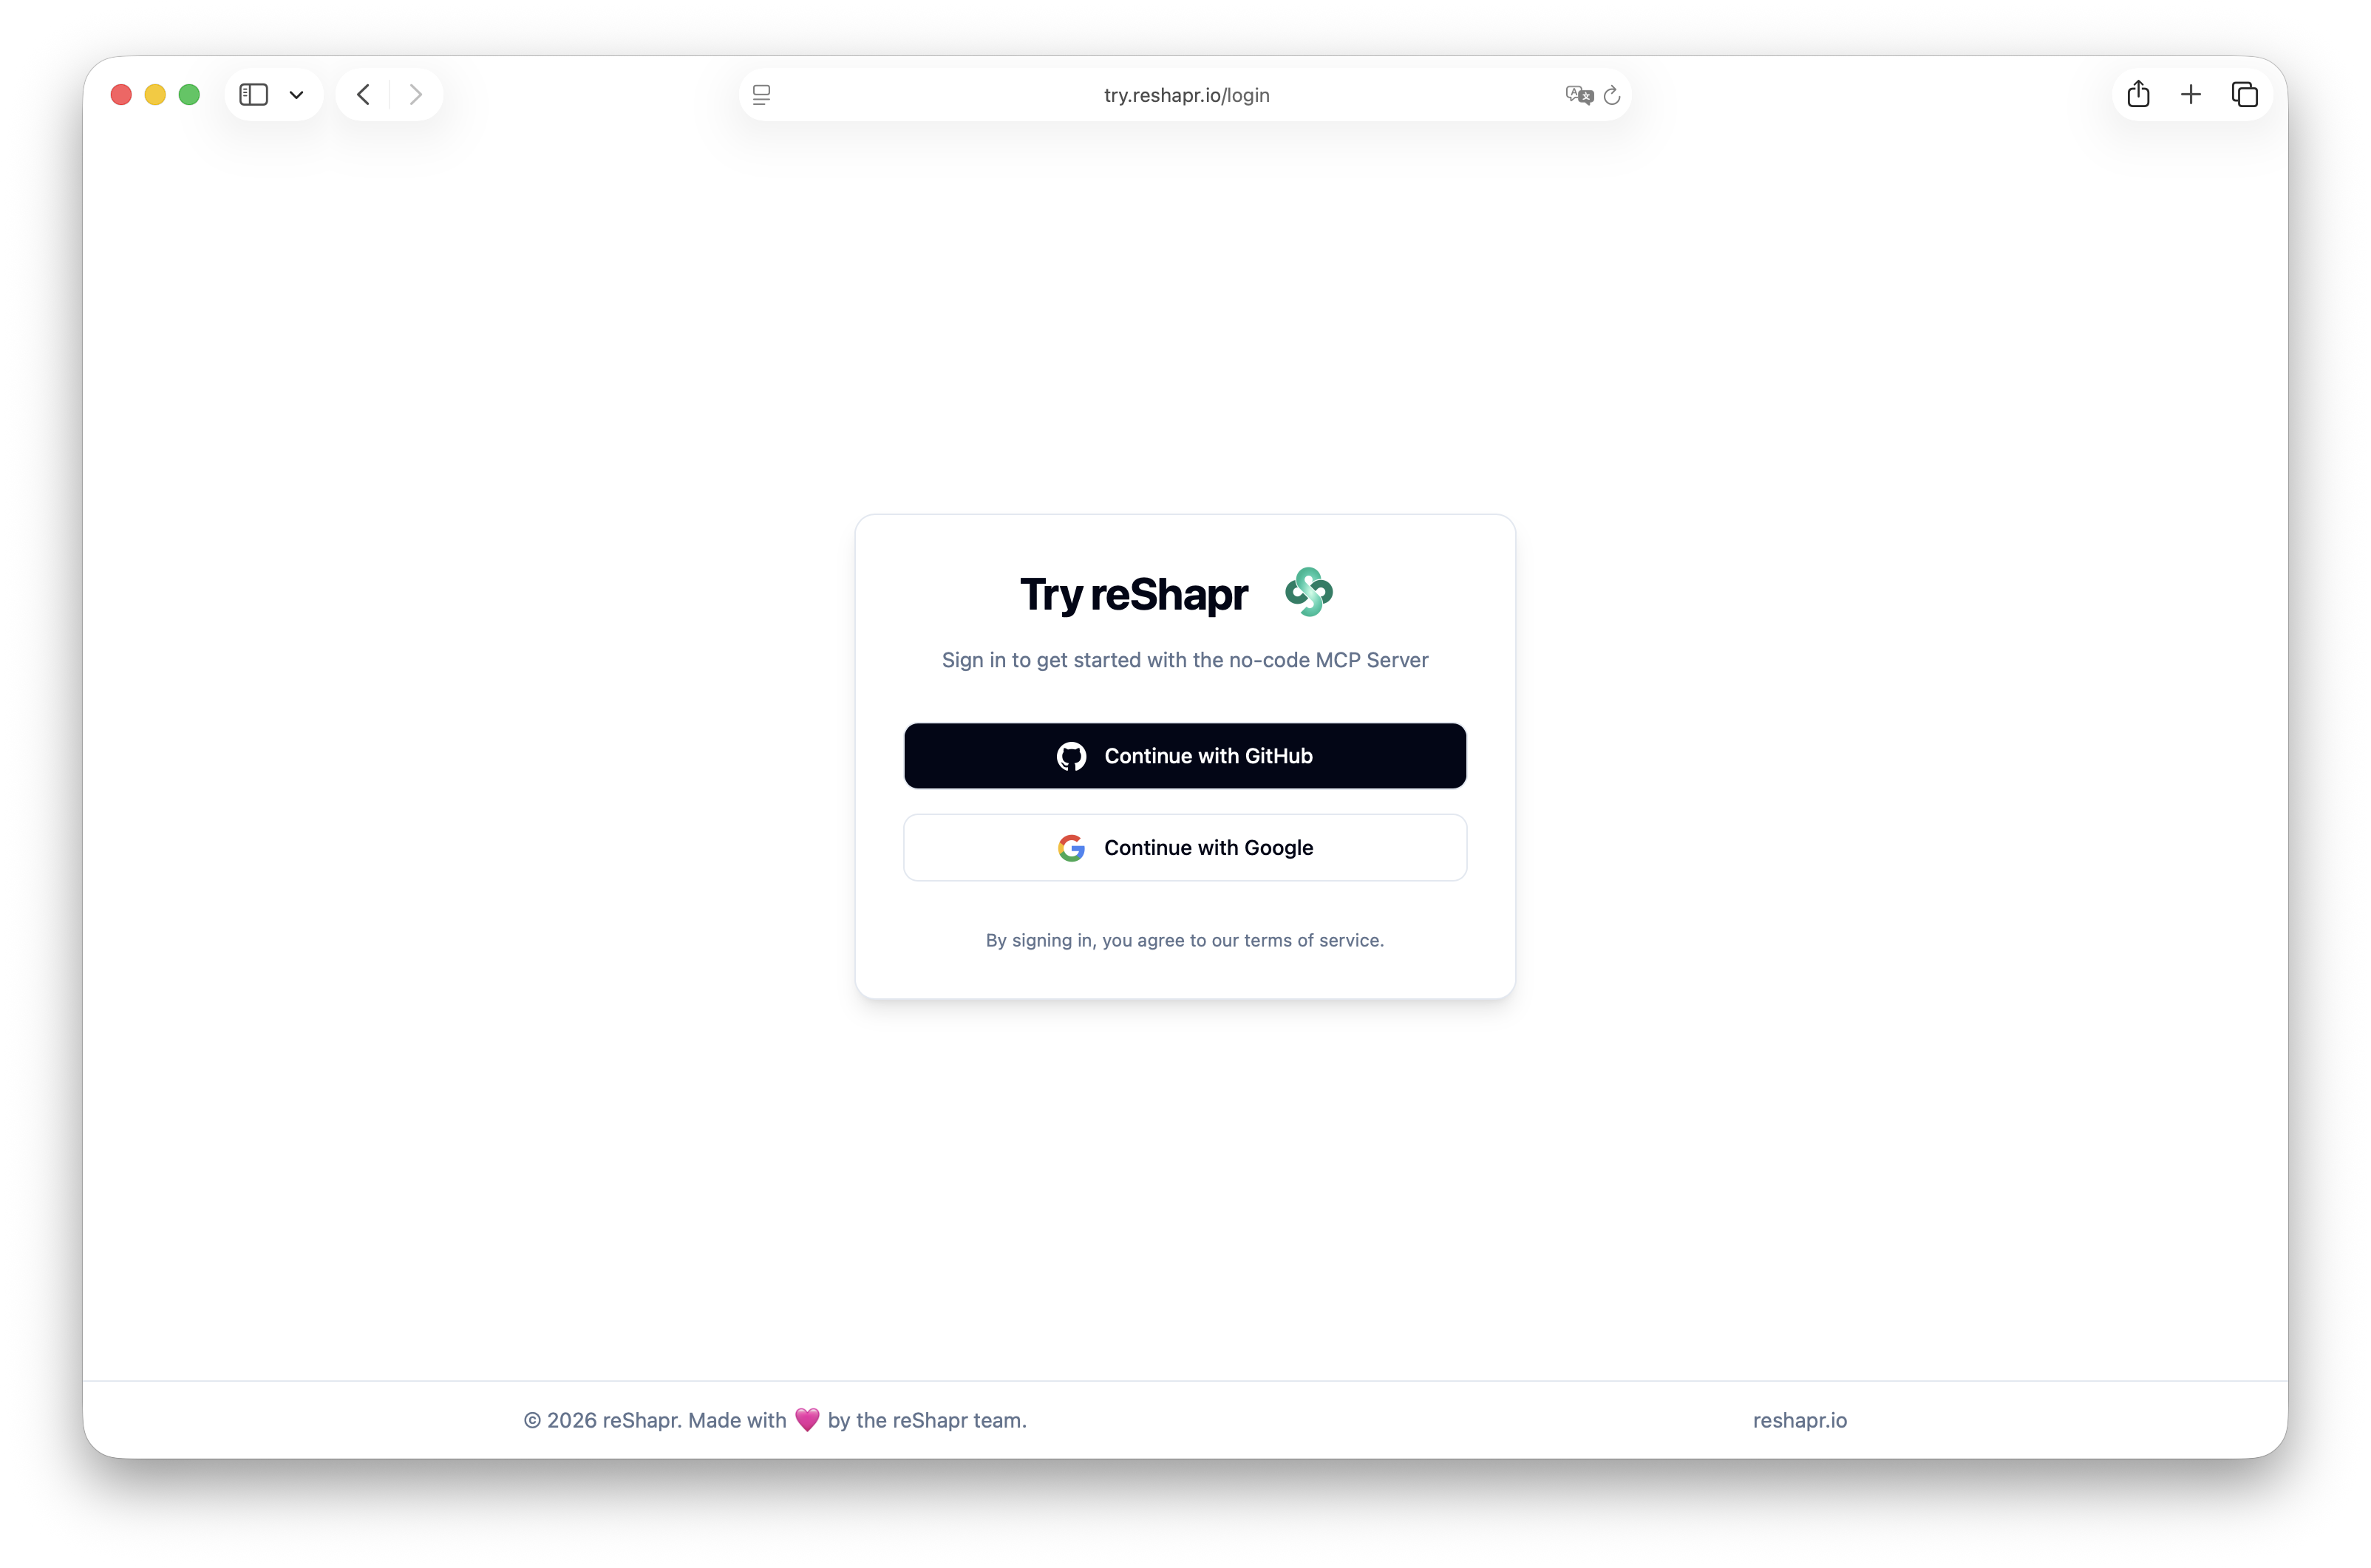
Step 1 — Choose an authentication provider
Select GitHub or Google to authenticate with the reShapr online try.
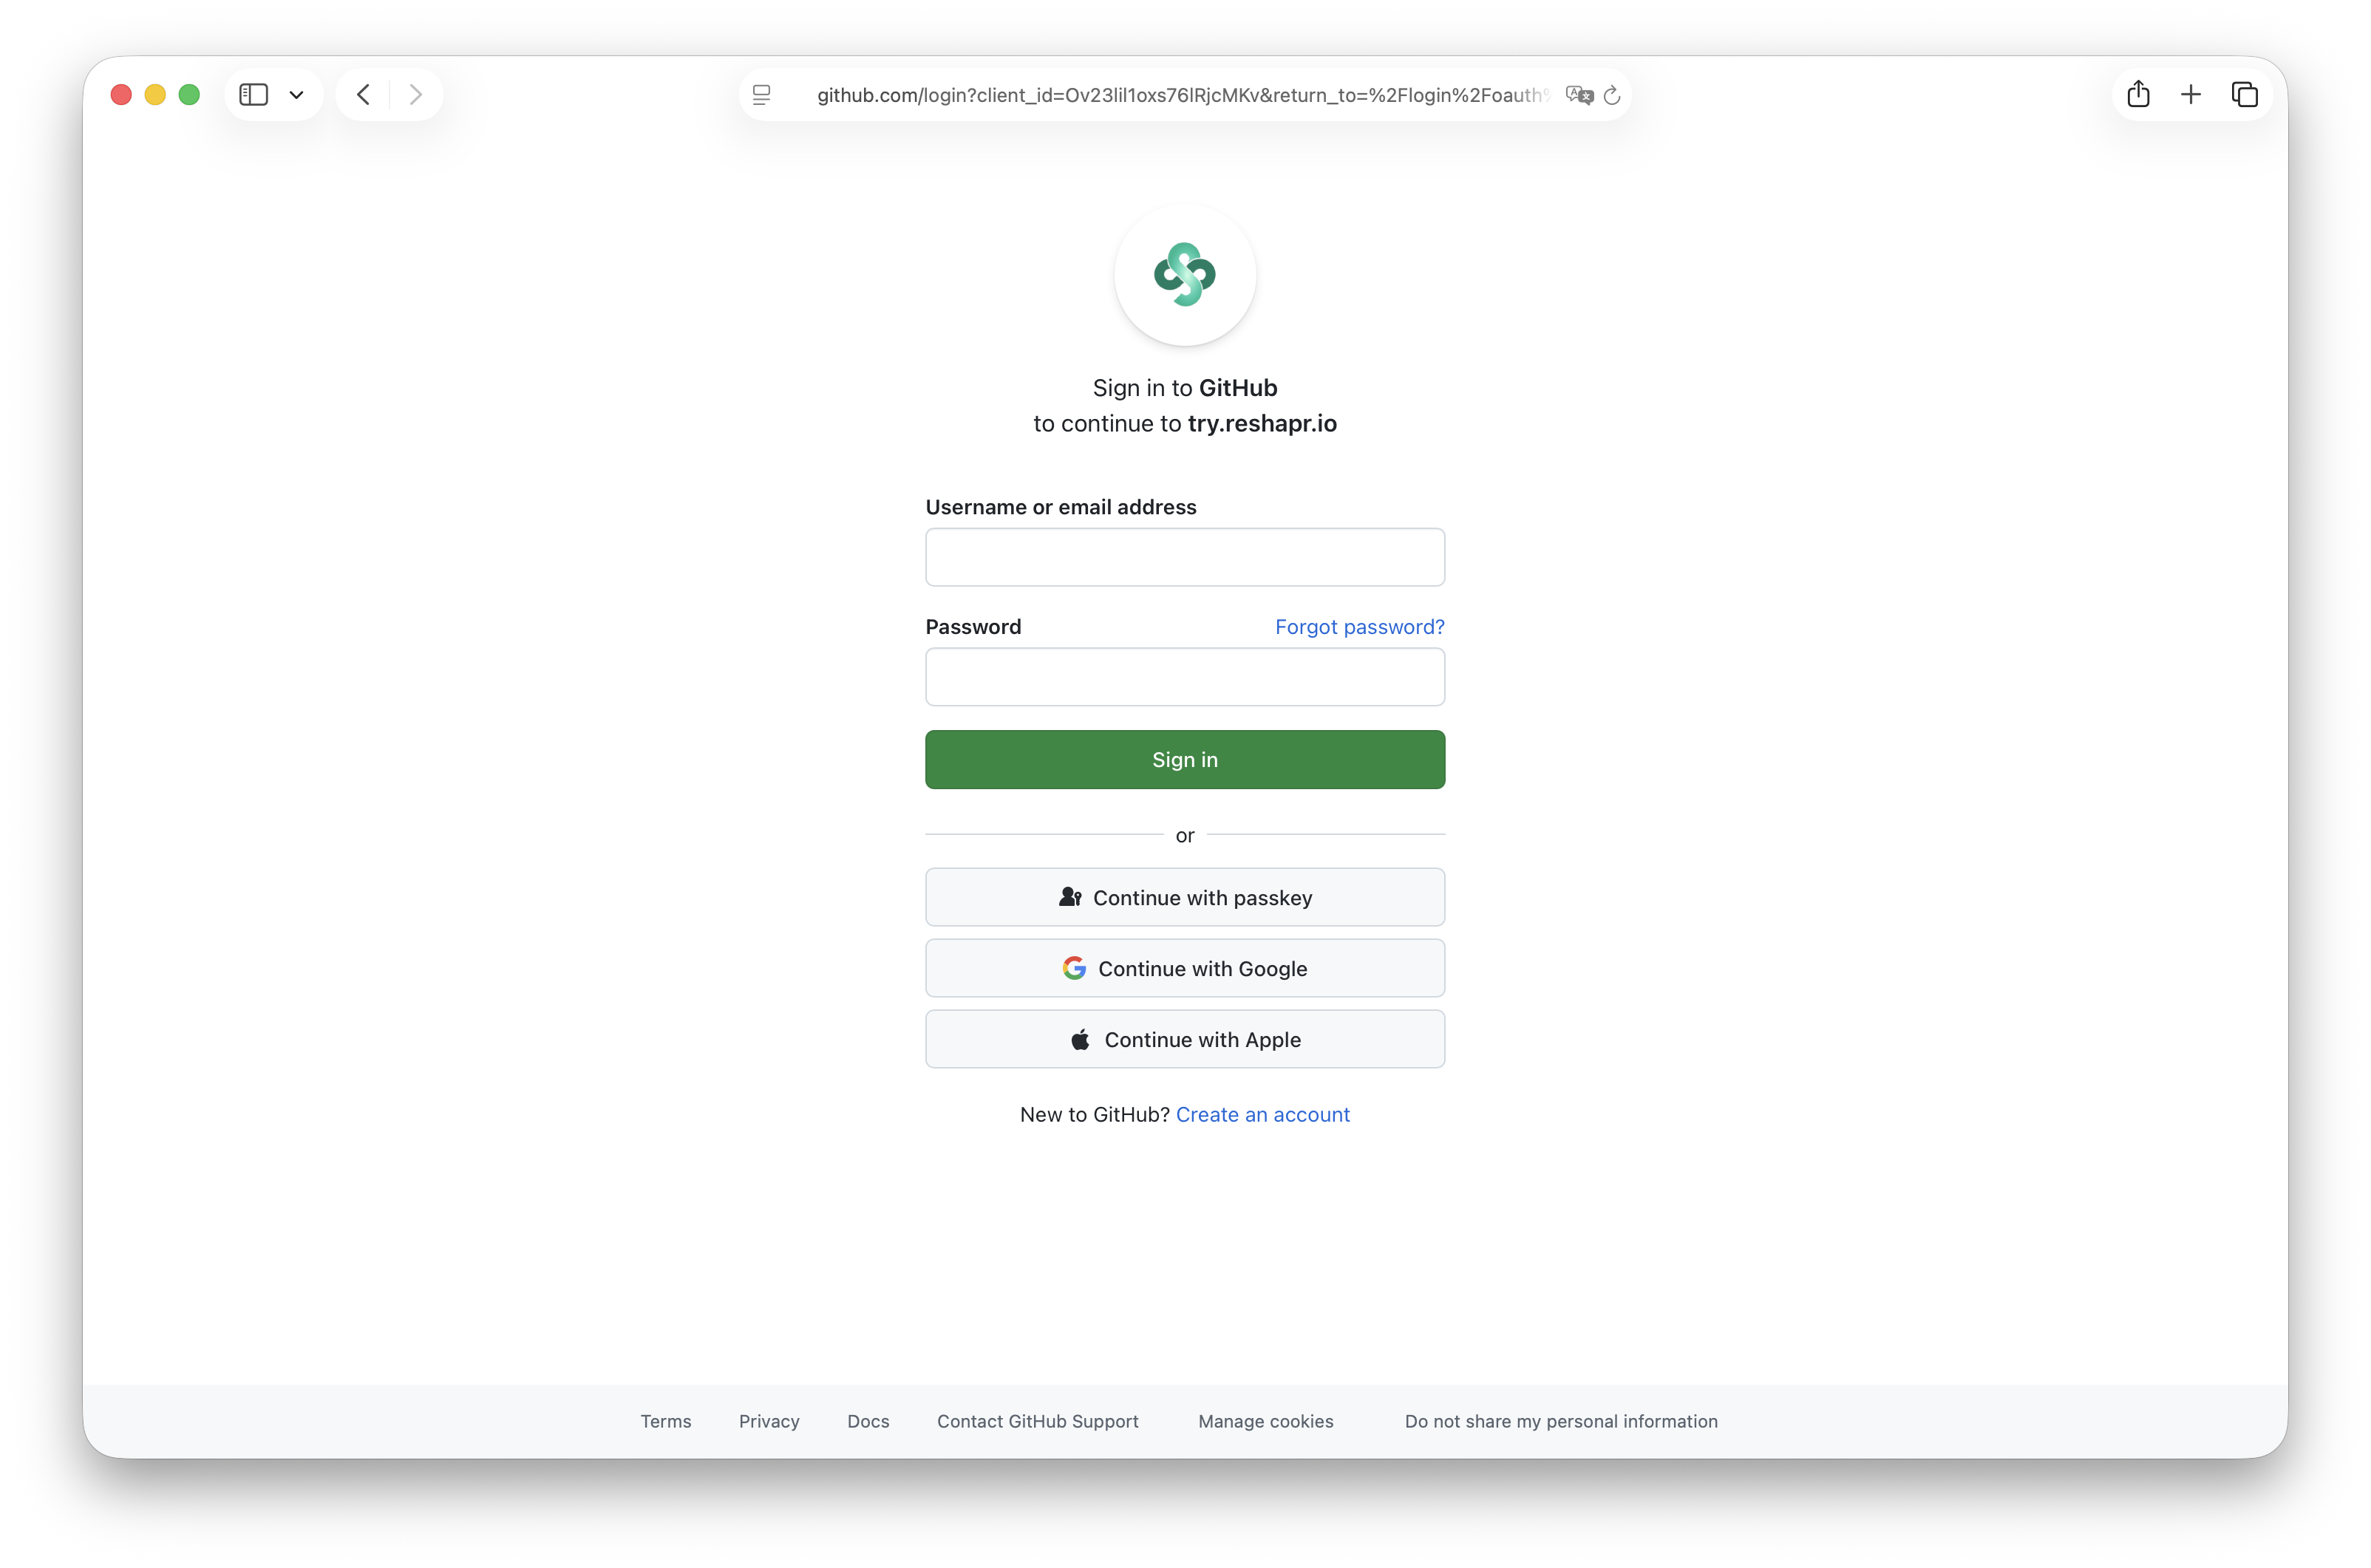
Step 2 — Sign in with your provider
Enter your credentials. In this example we are using GitHub.
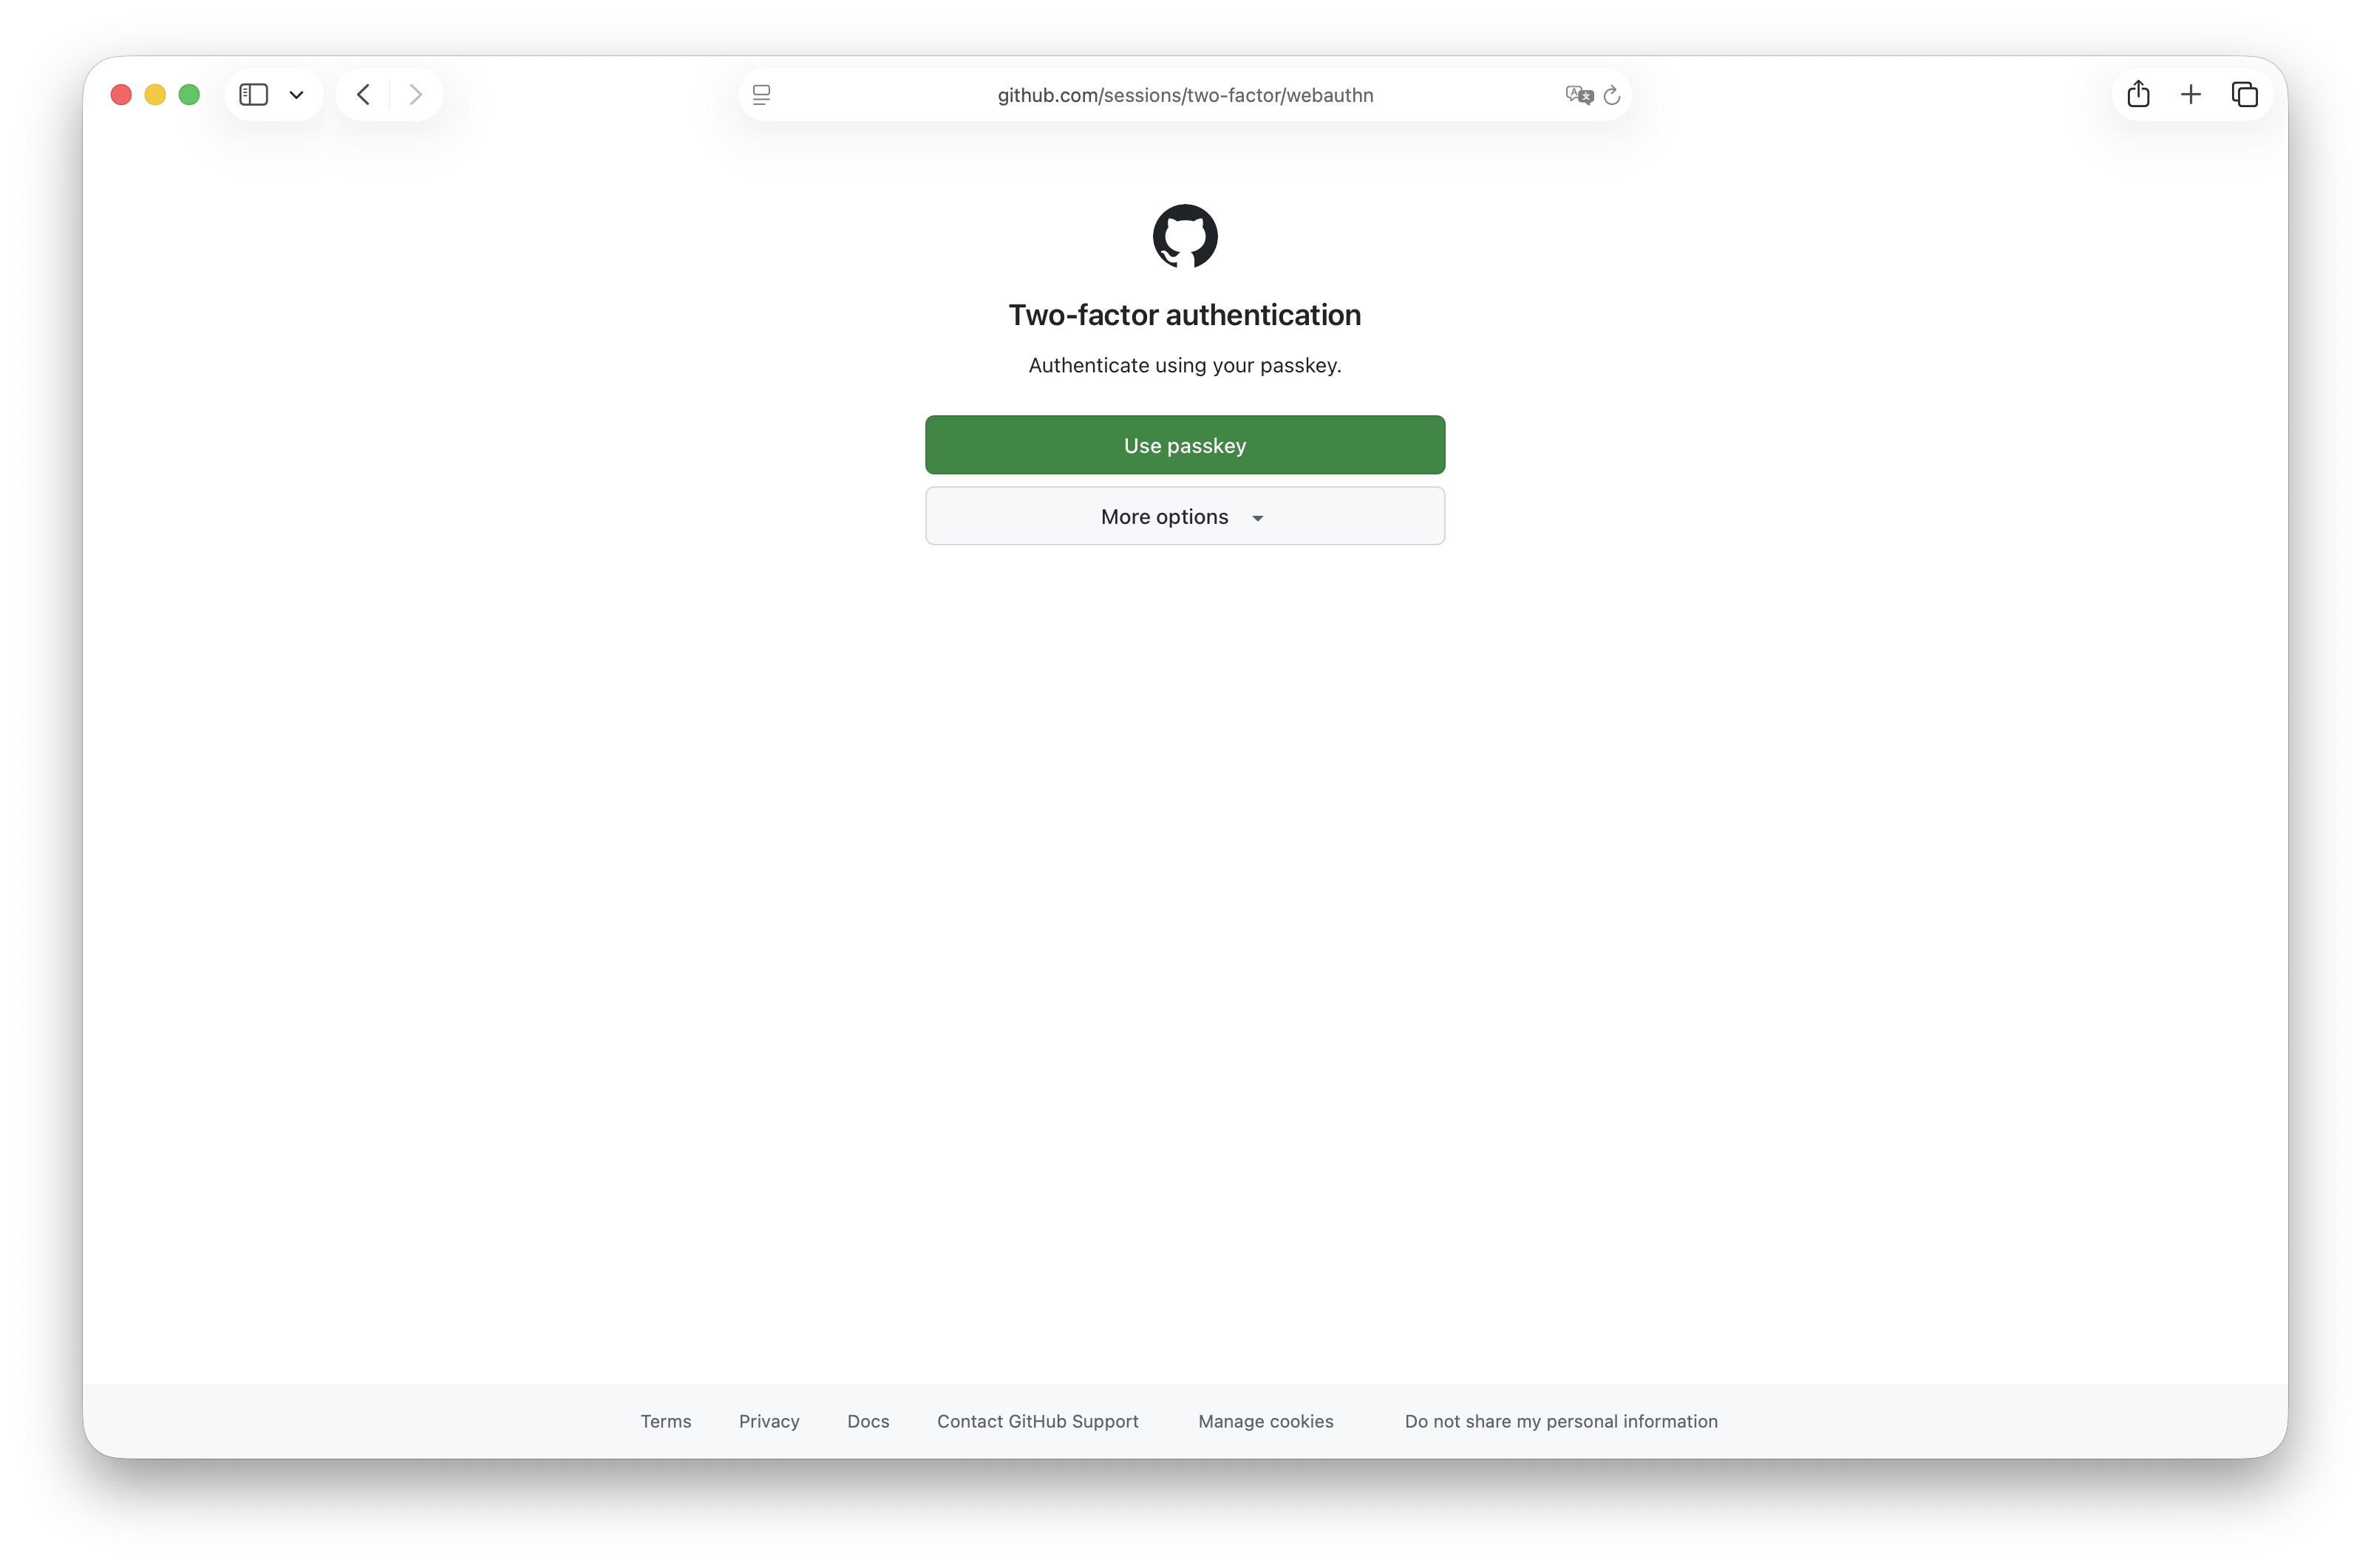
Step 3 — Two-factor authentication
If you have two-factor authentication enabled, complete the verification step.
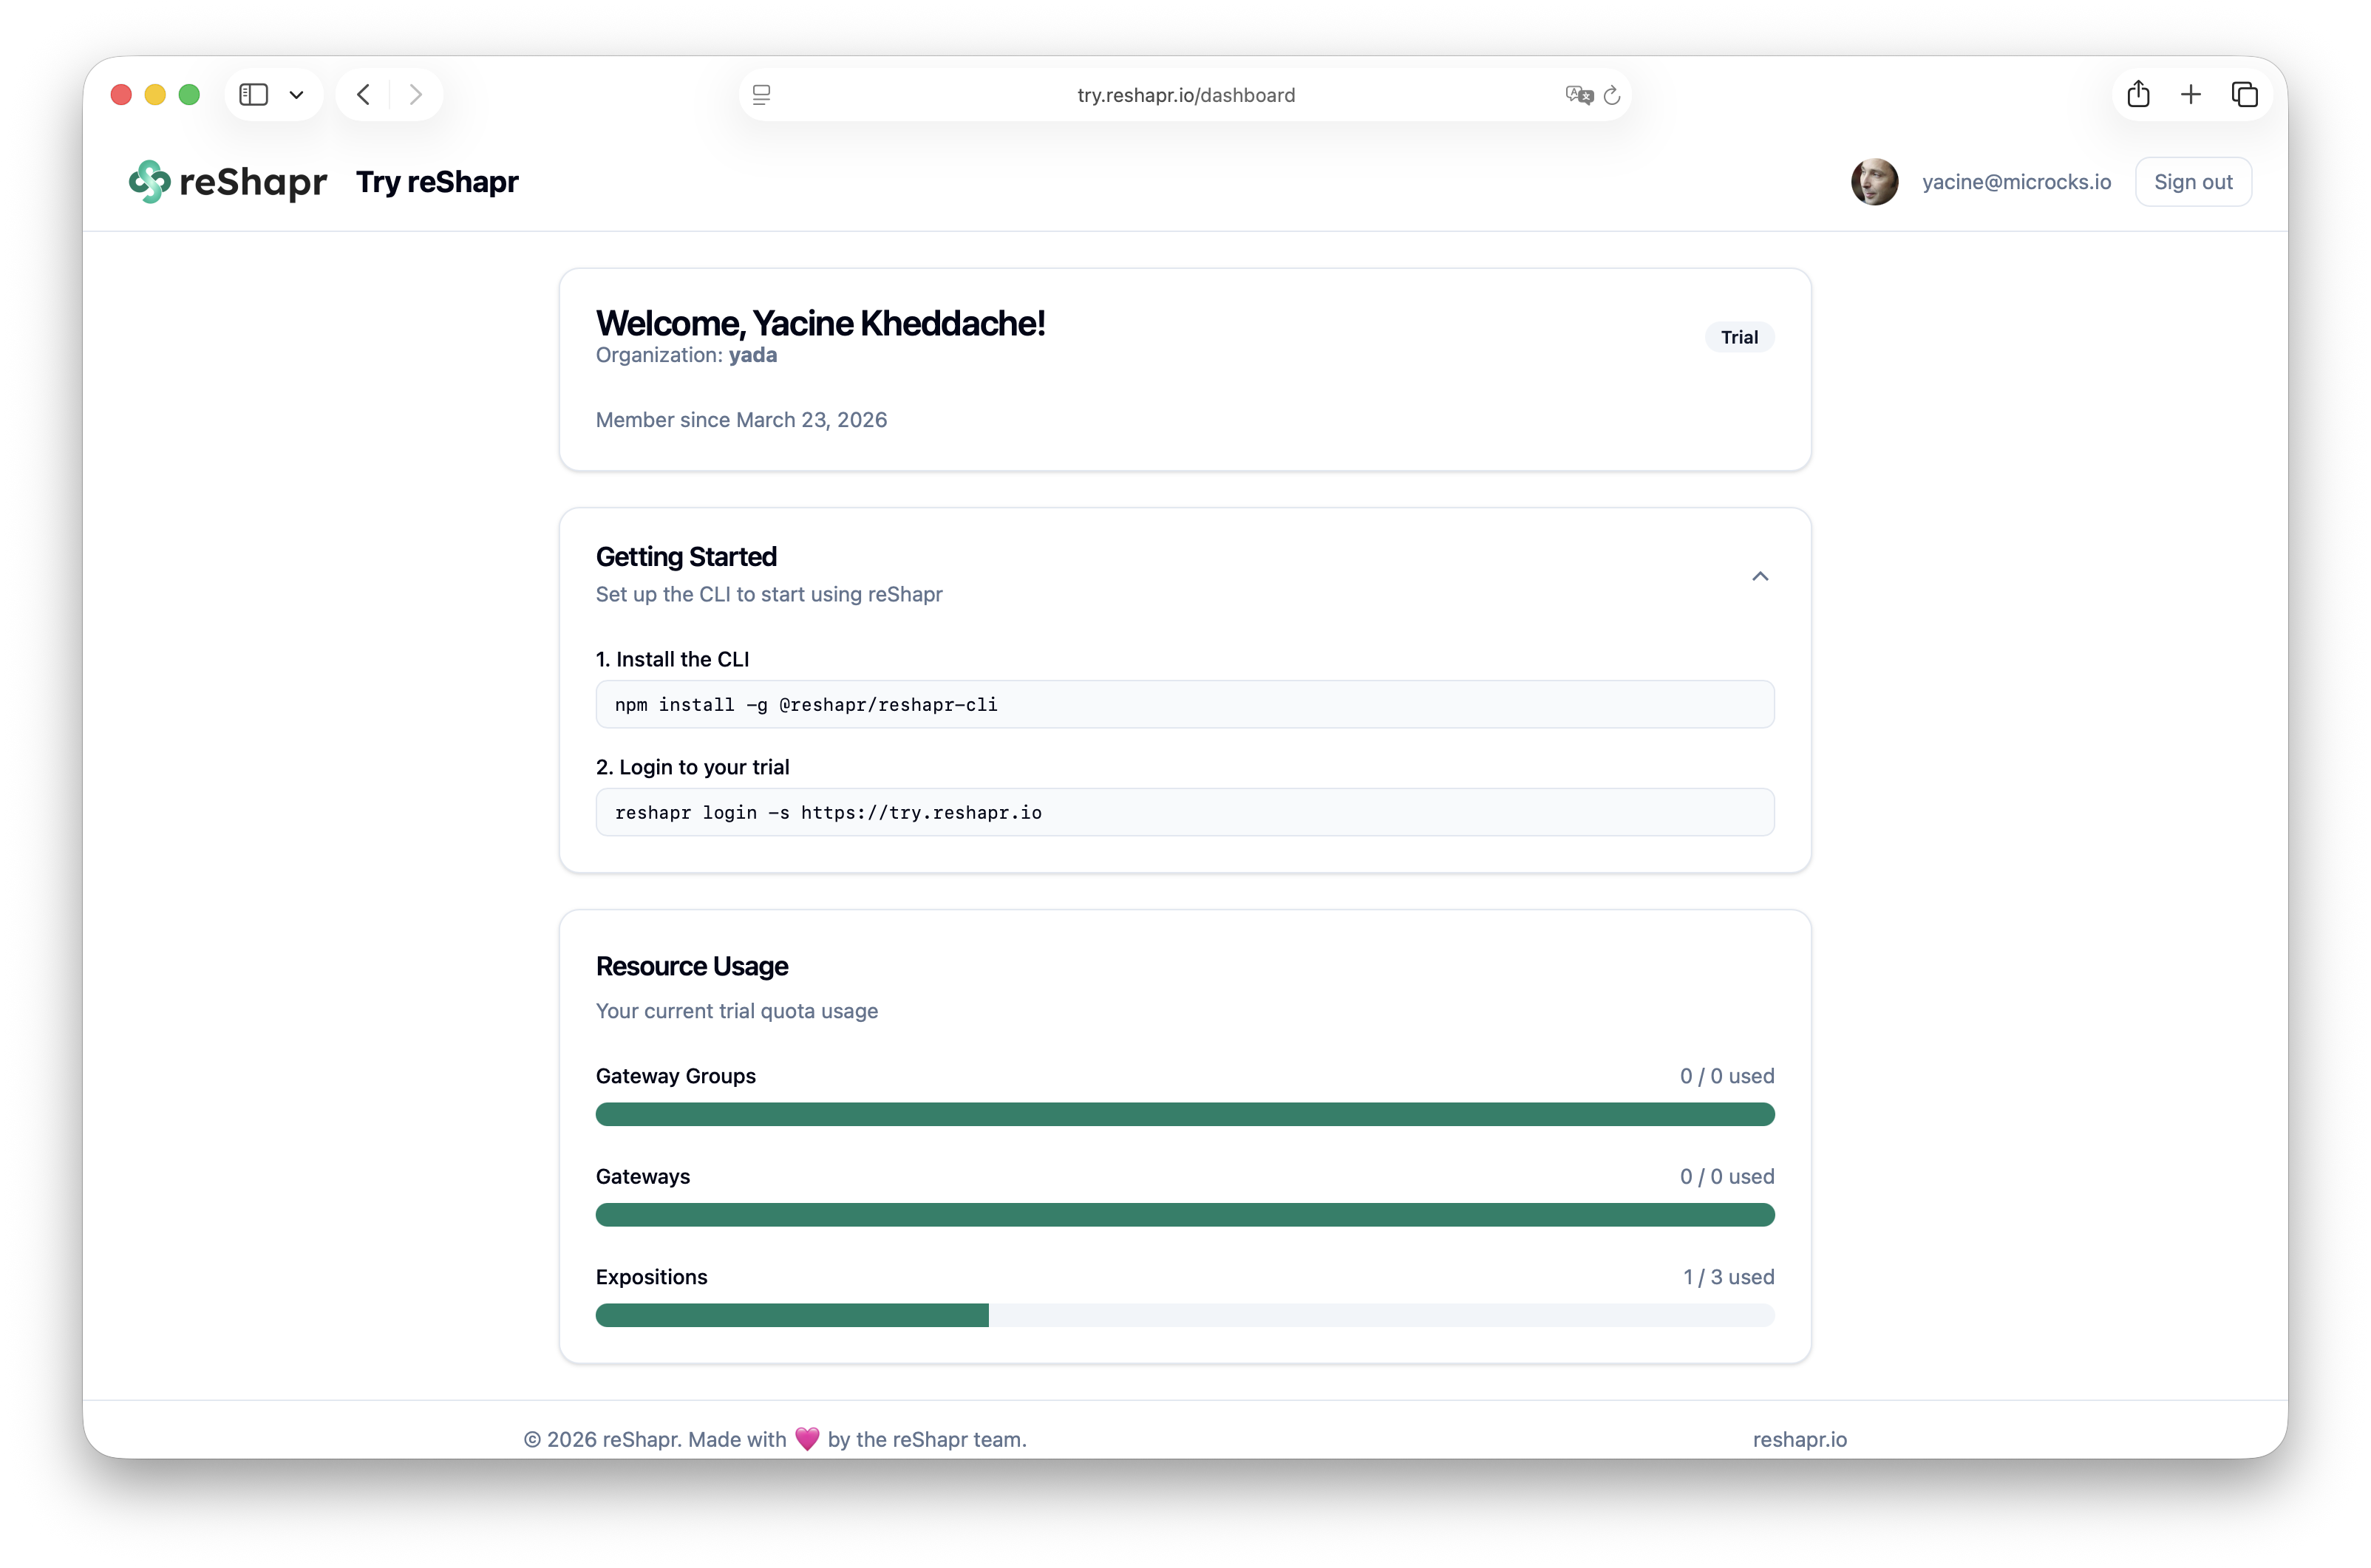
Step 4 — Setup your try org name
You can customize your trial organization (change its default name if you’d like).
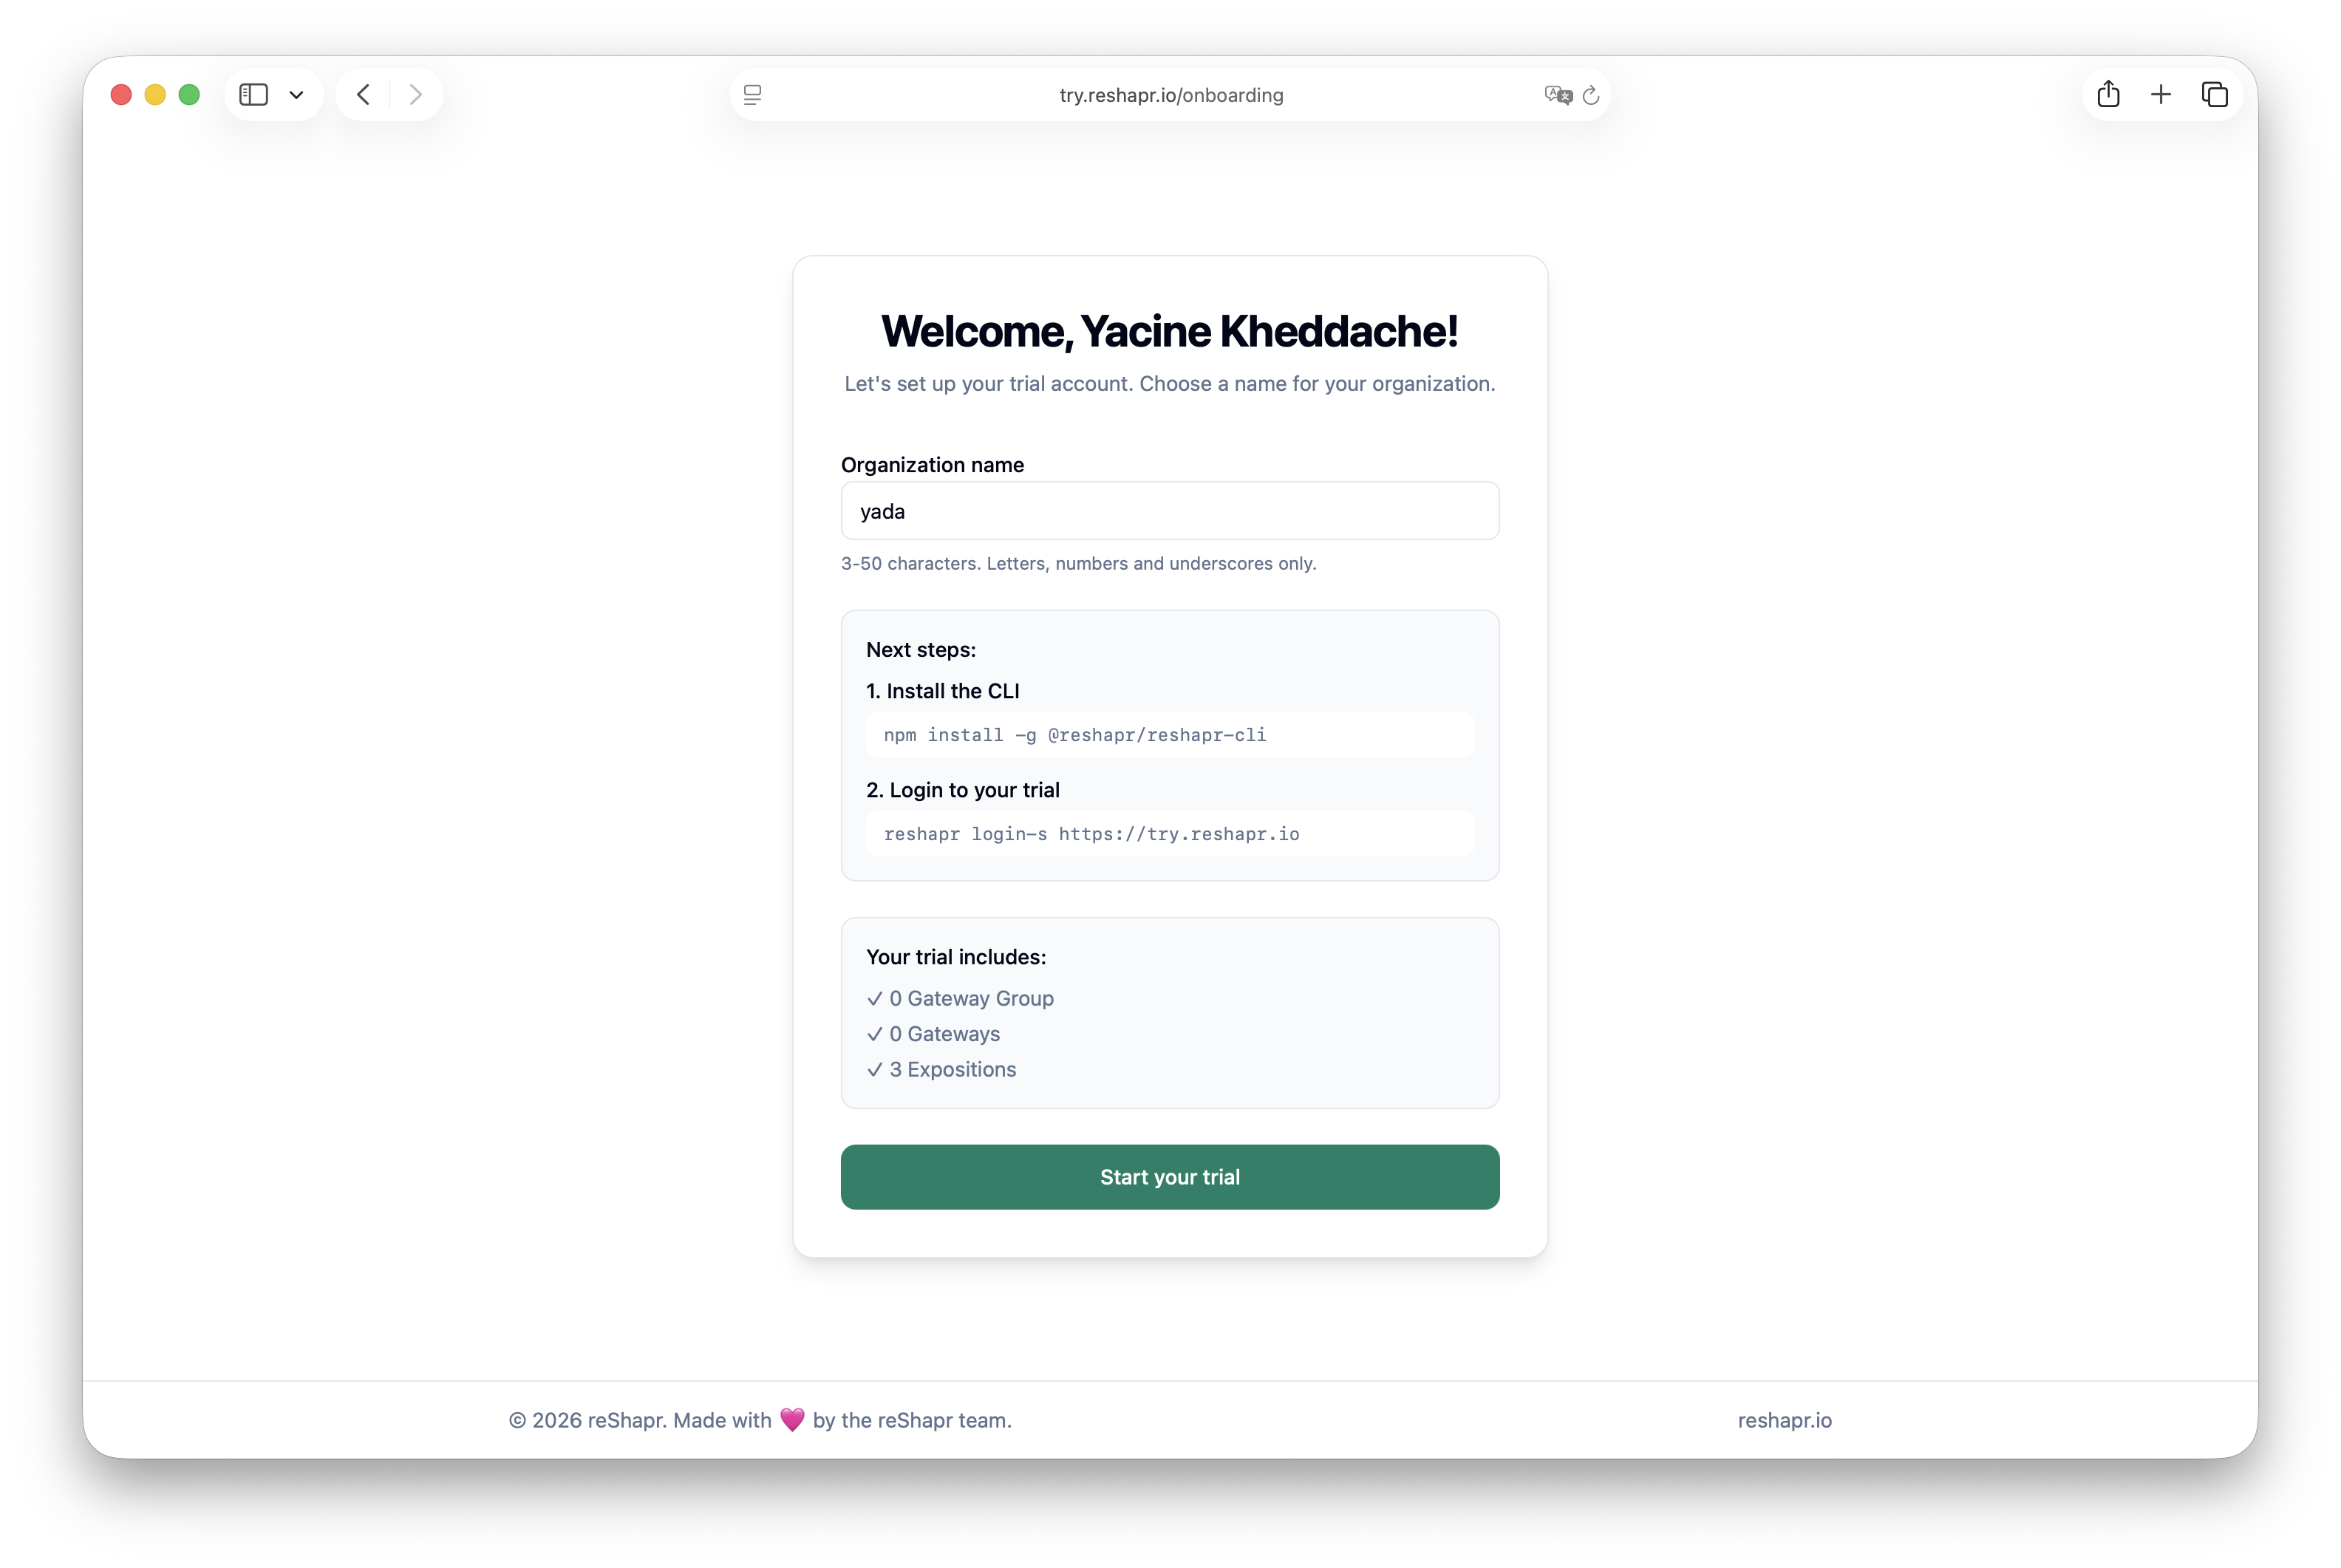
Then install the CLI:
npm install -g @reshapr/reshapr-cli
and log in to Reshapr online:
reshapr login -s https://try.reshapr.io
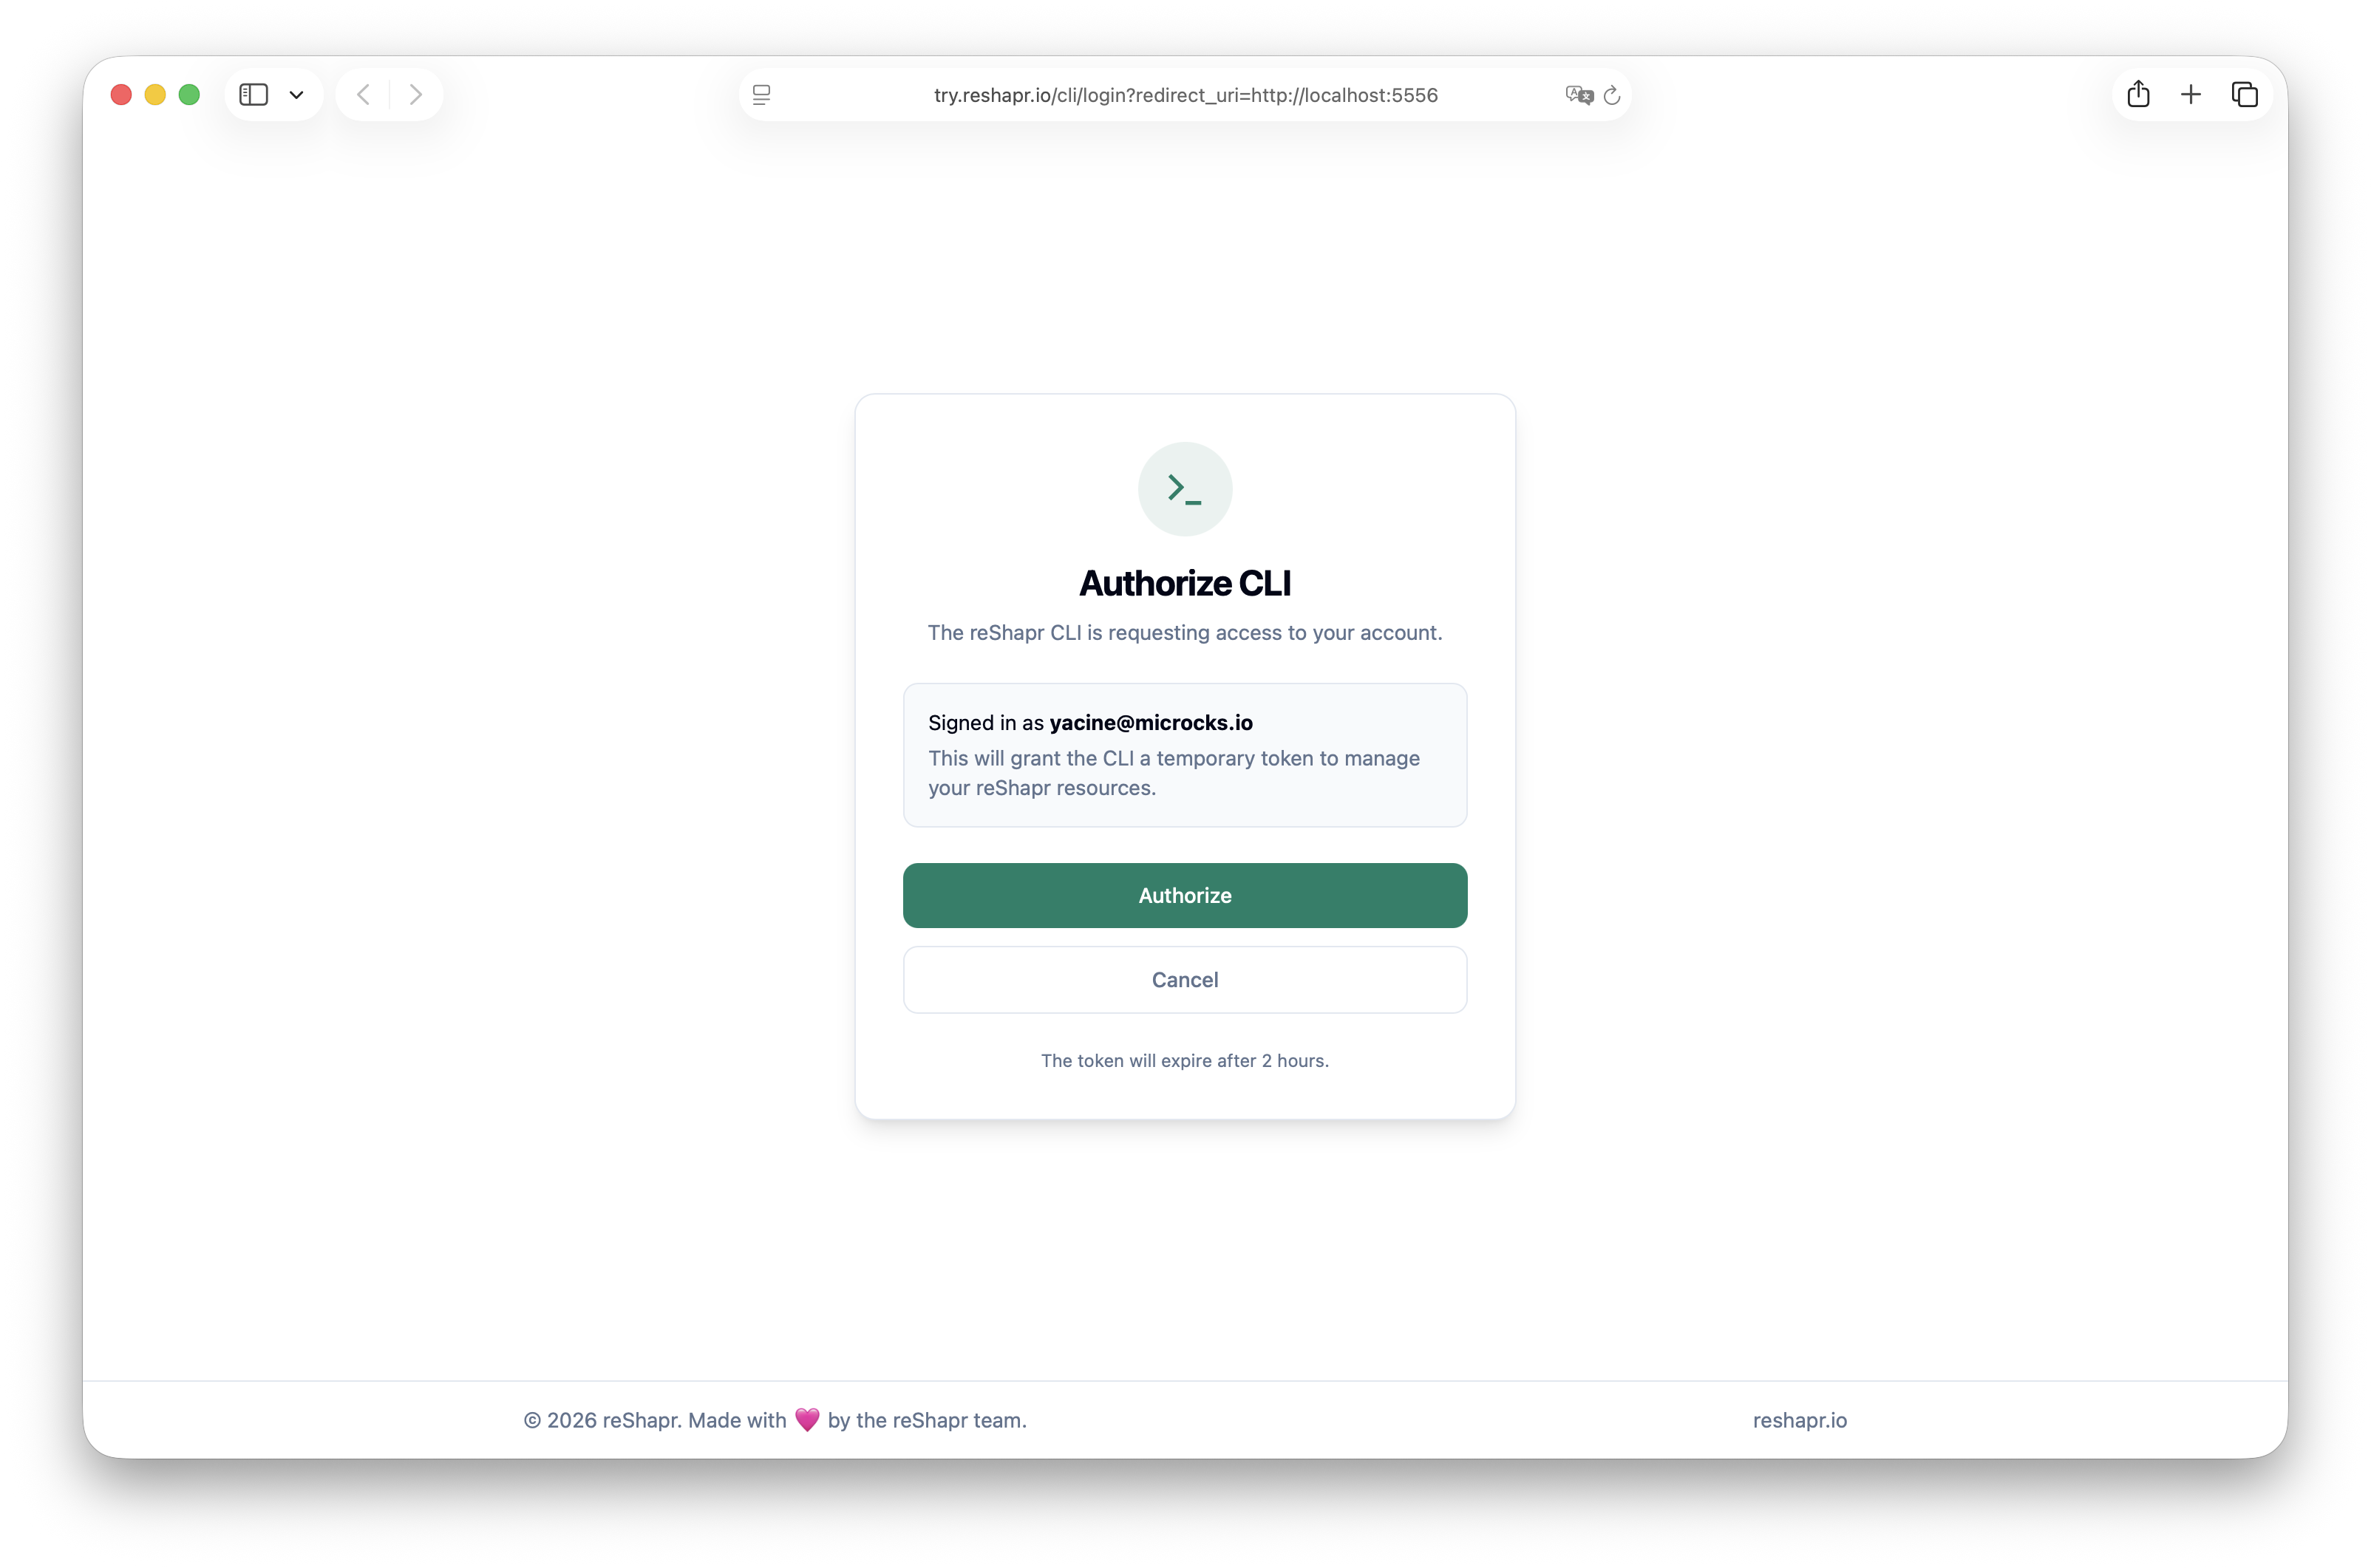
Step 5 — Authenticate with the CLI
When the browser opens, authorize the CLI — the token is valid for 2 hours.
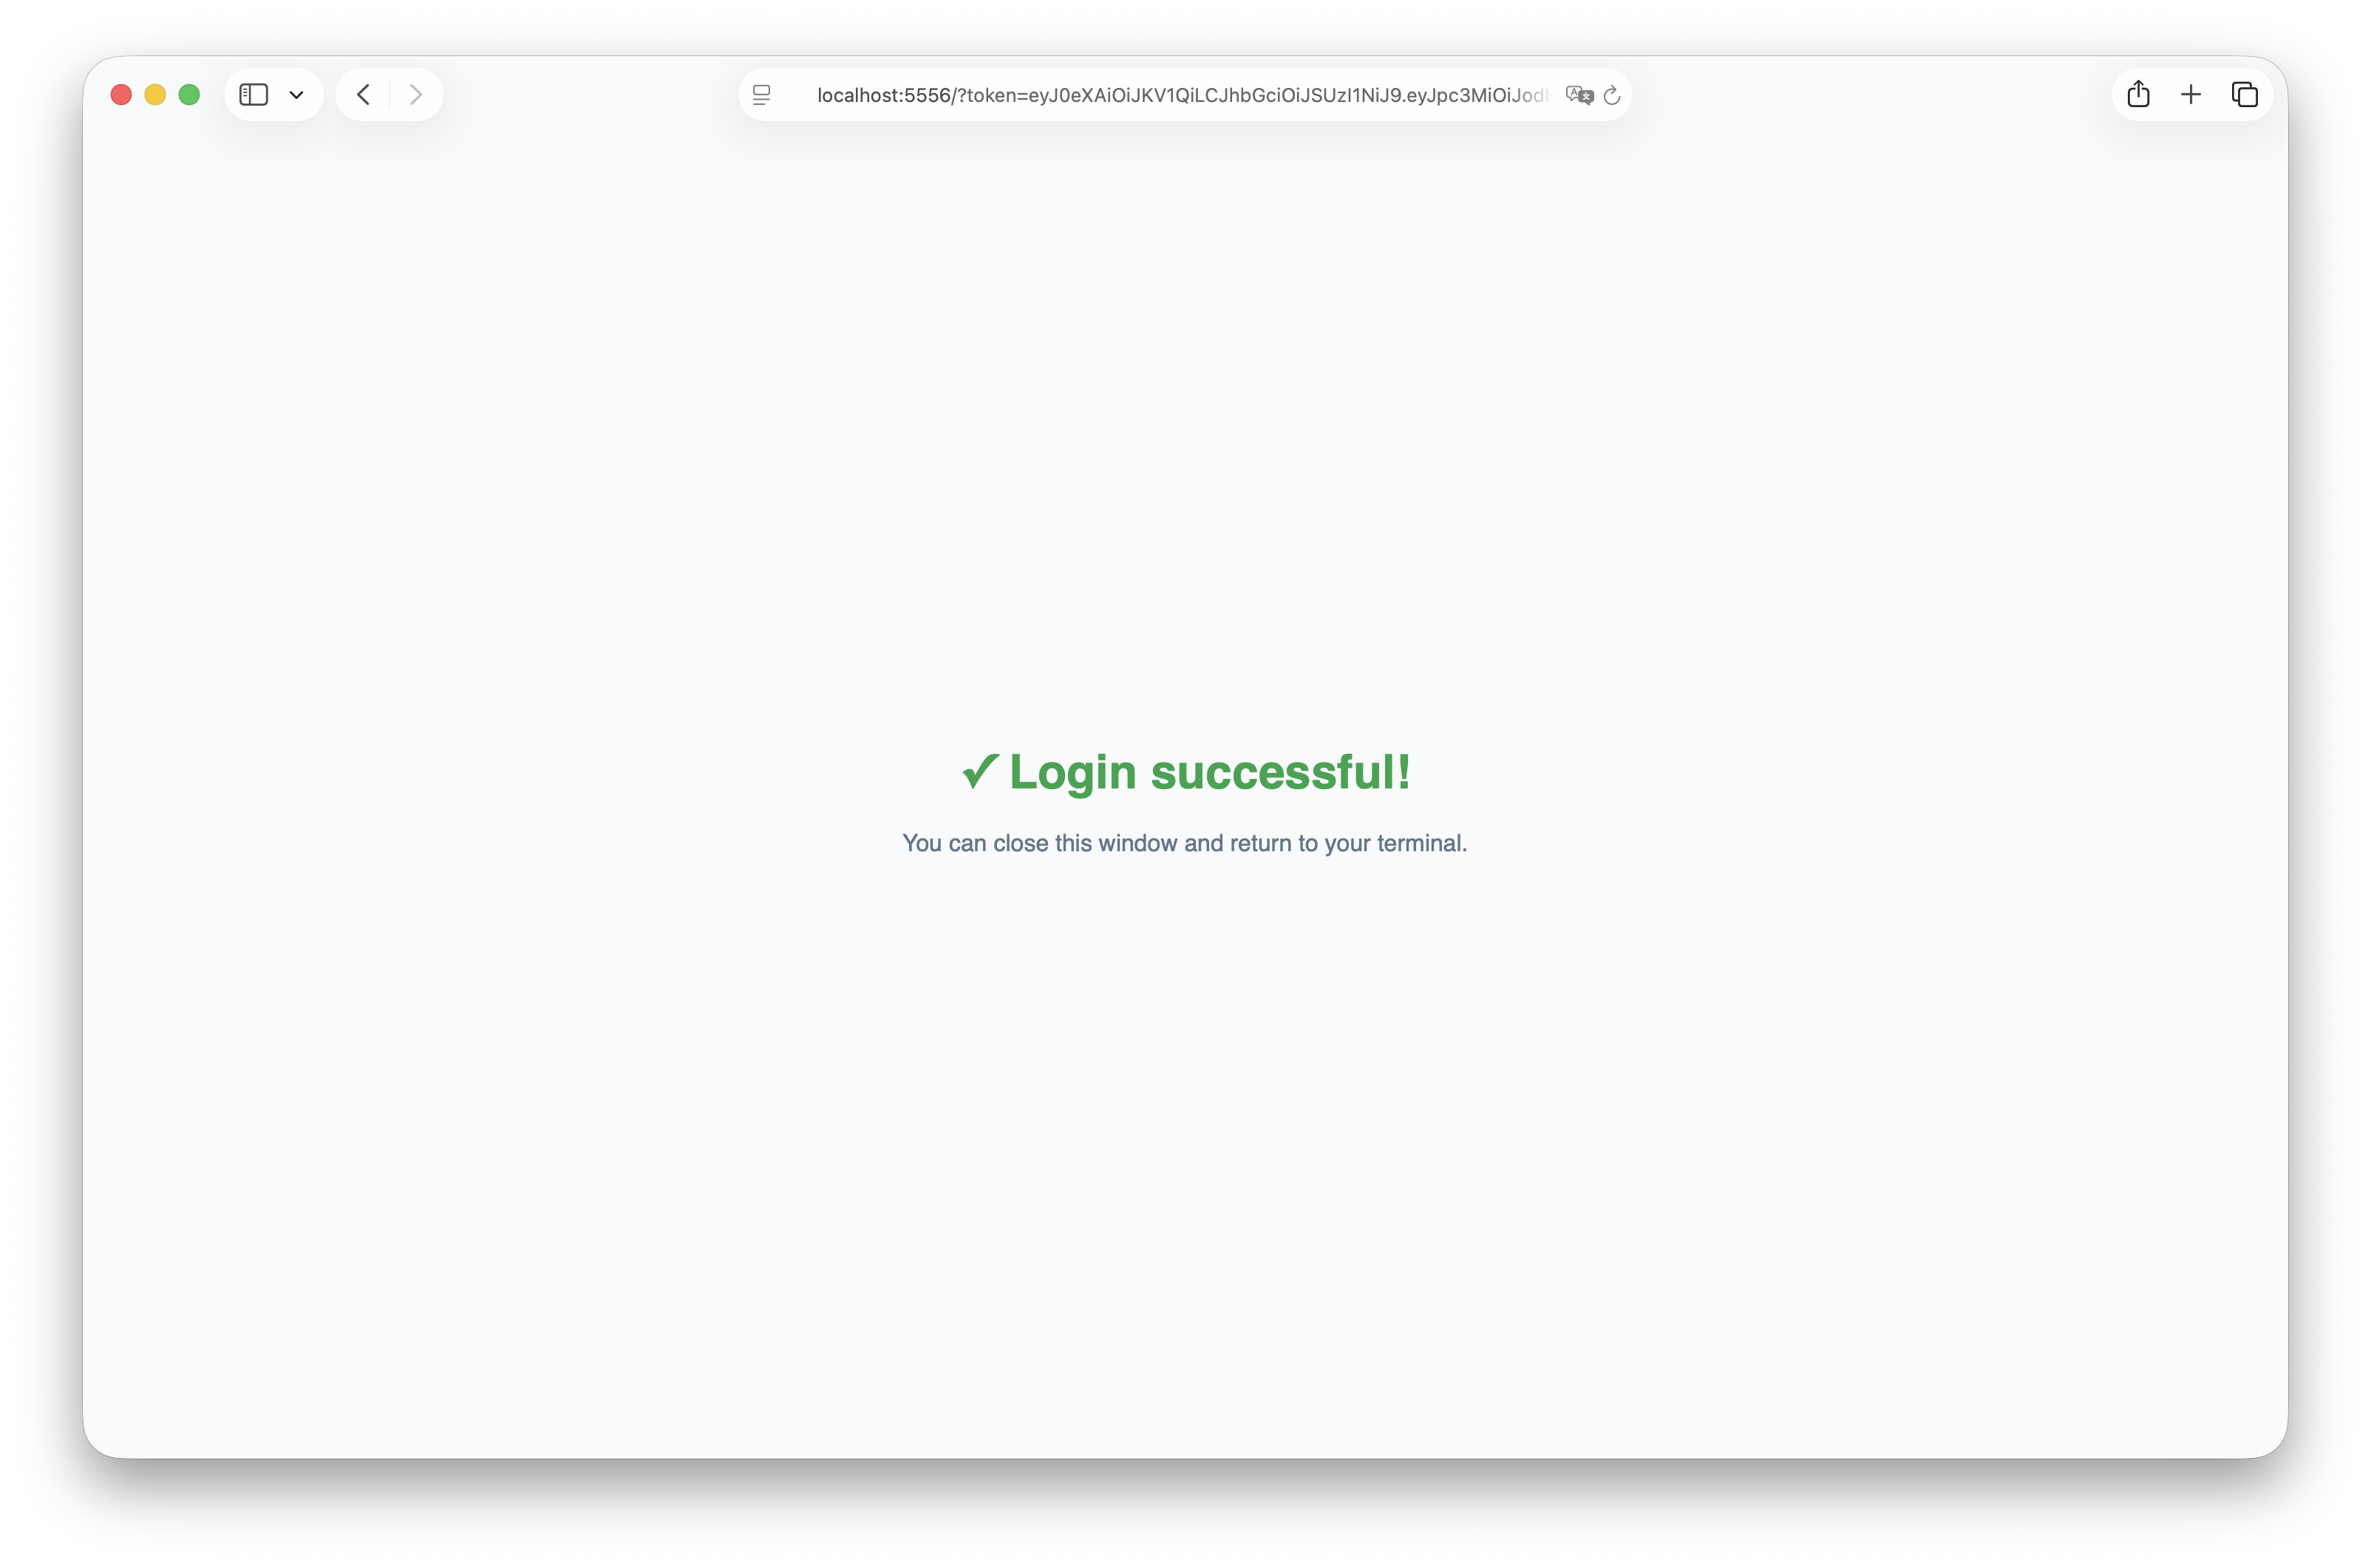
Step 6 — You're all set!
Login is successful. You can now use the CLI to import APIs, create expositions, and manage MCP servers. Follow the instructions in the Getting Started tutorial to continue.
Step 7 — Access the online dashboard
Once authenticated, you can go back to https://try.reshapr.io and you'll land on the reShapr Try dashboard.